No matter how good the quality of your clothes, including but not limited to your white doctor’s coat, there will be instances of seams coming loose or buttons falling off. That is just the nature of clothing, but with a little sewing know-how, you can do some of these wear-and-tear-repairs from your home.
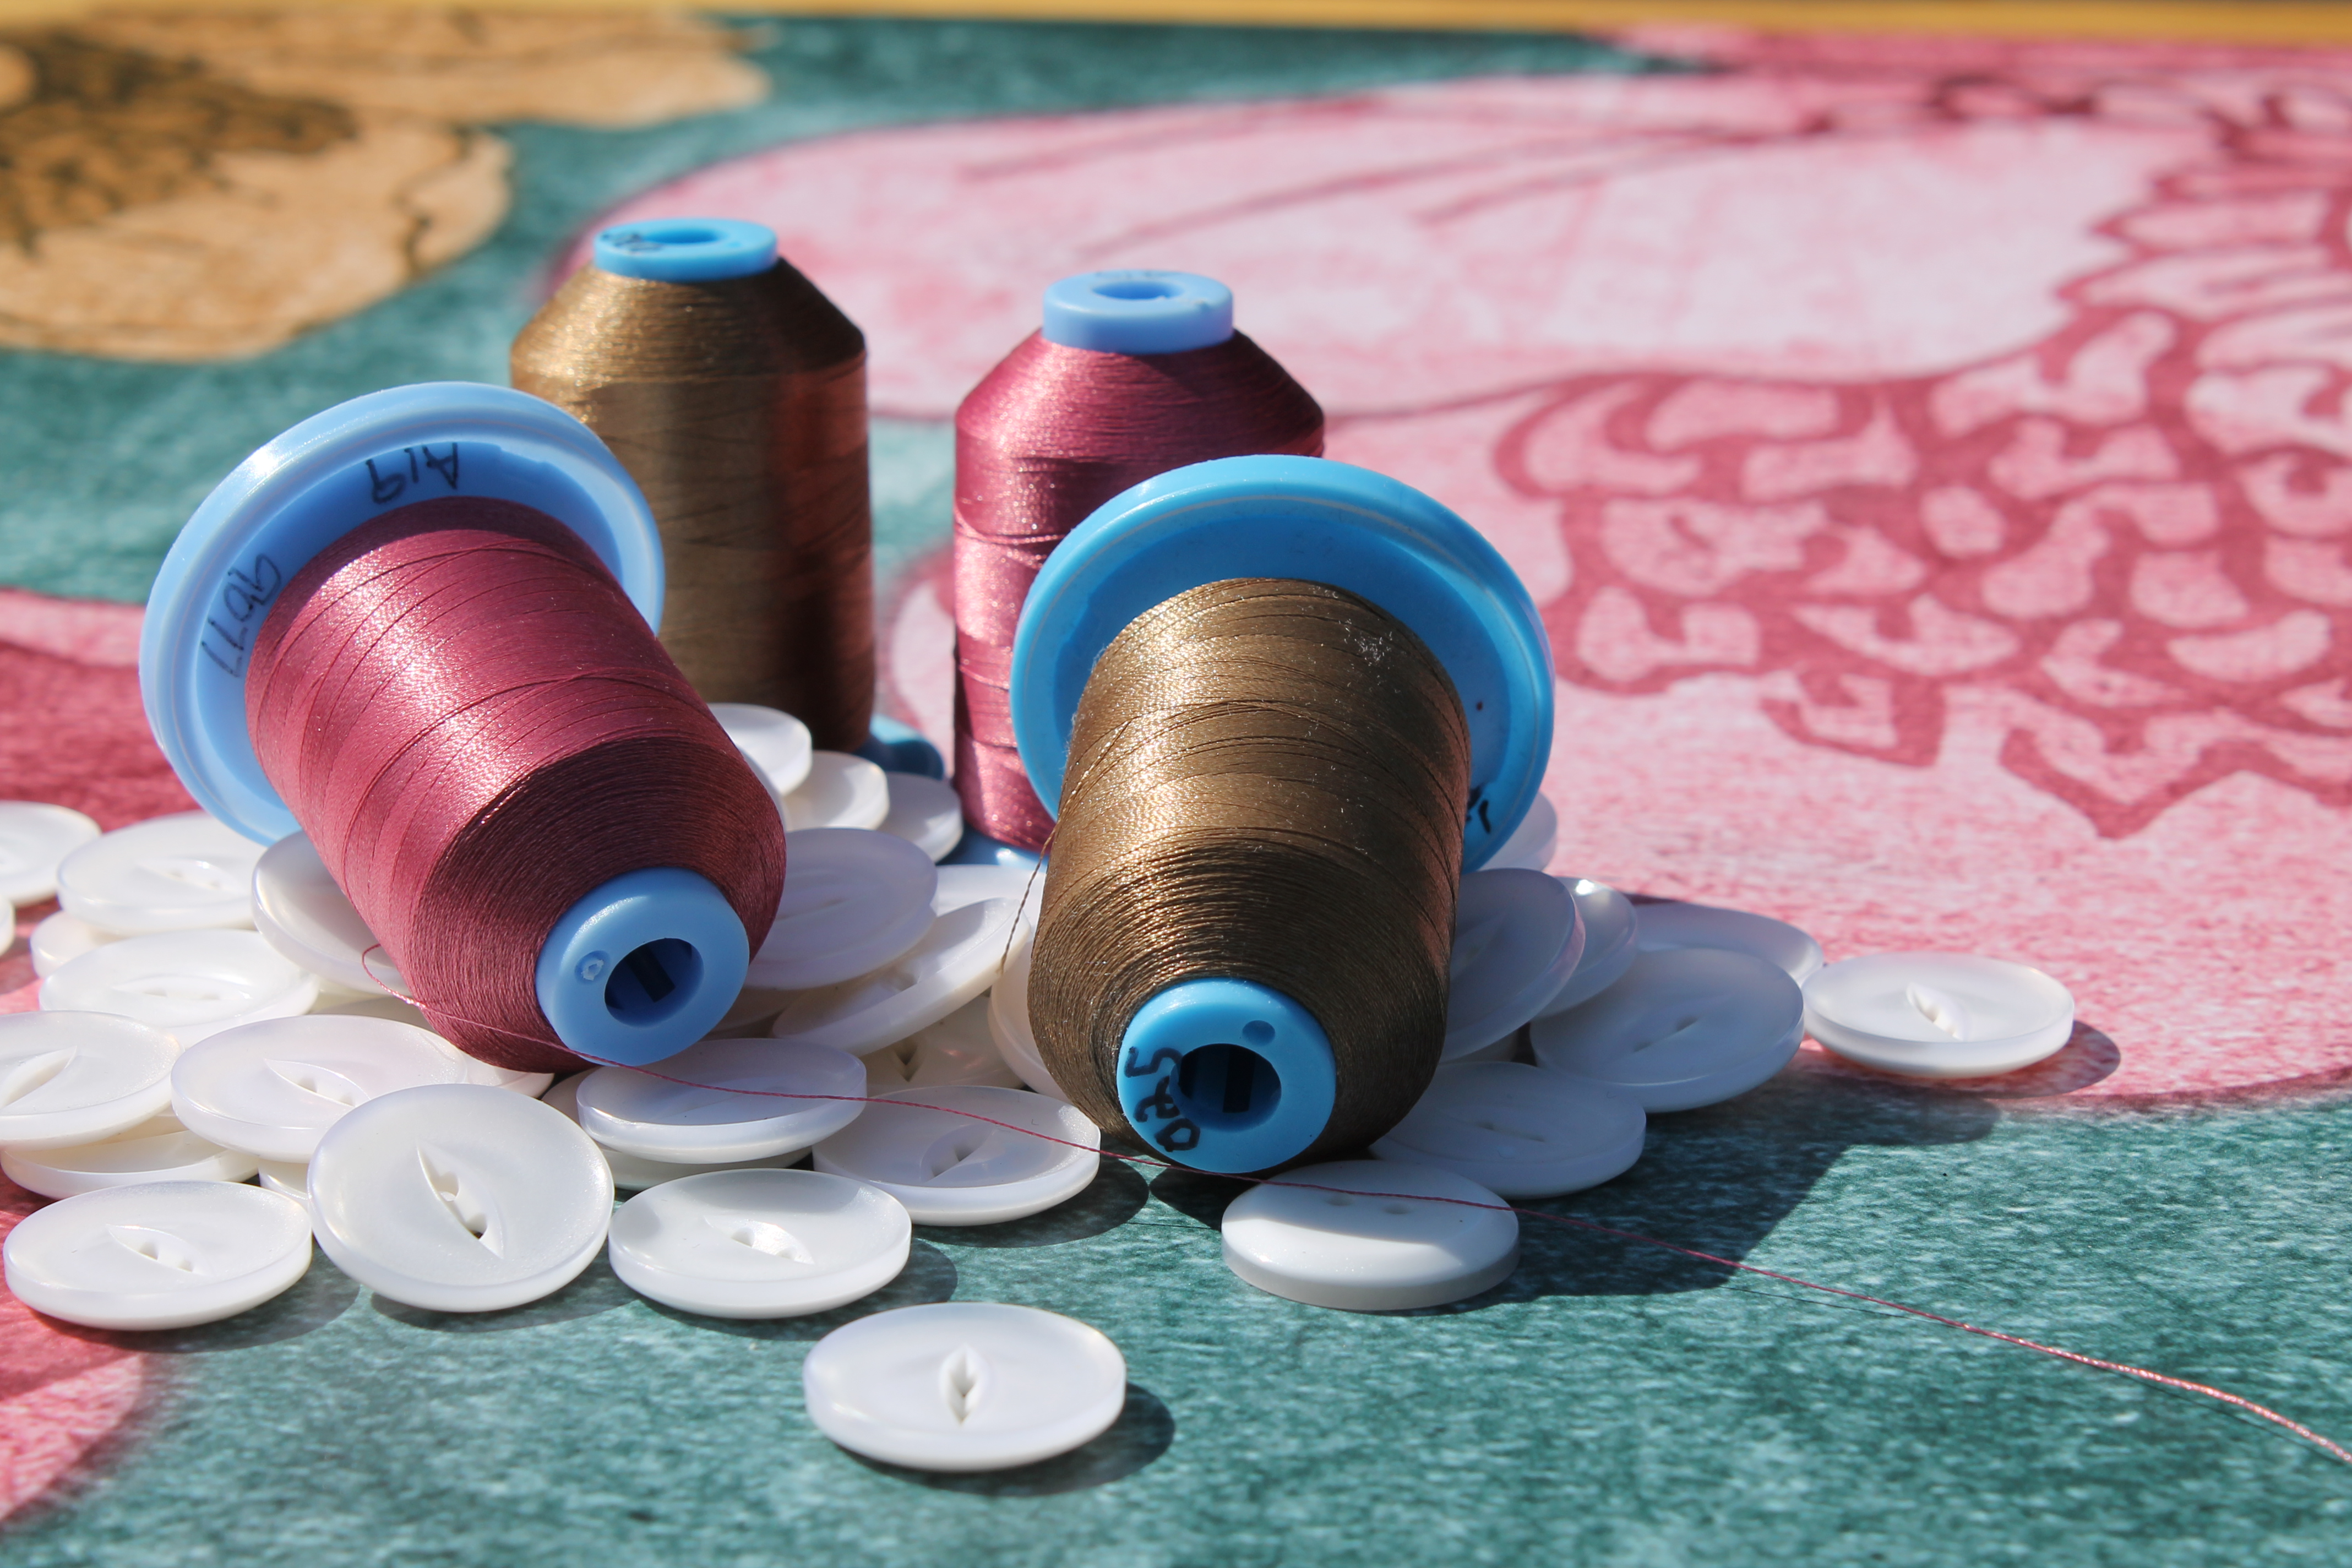
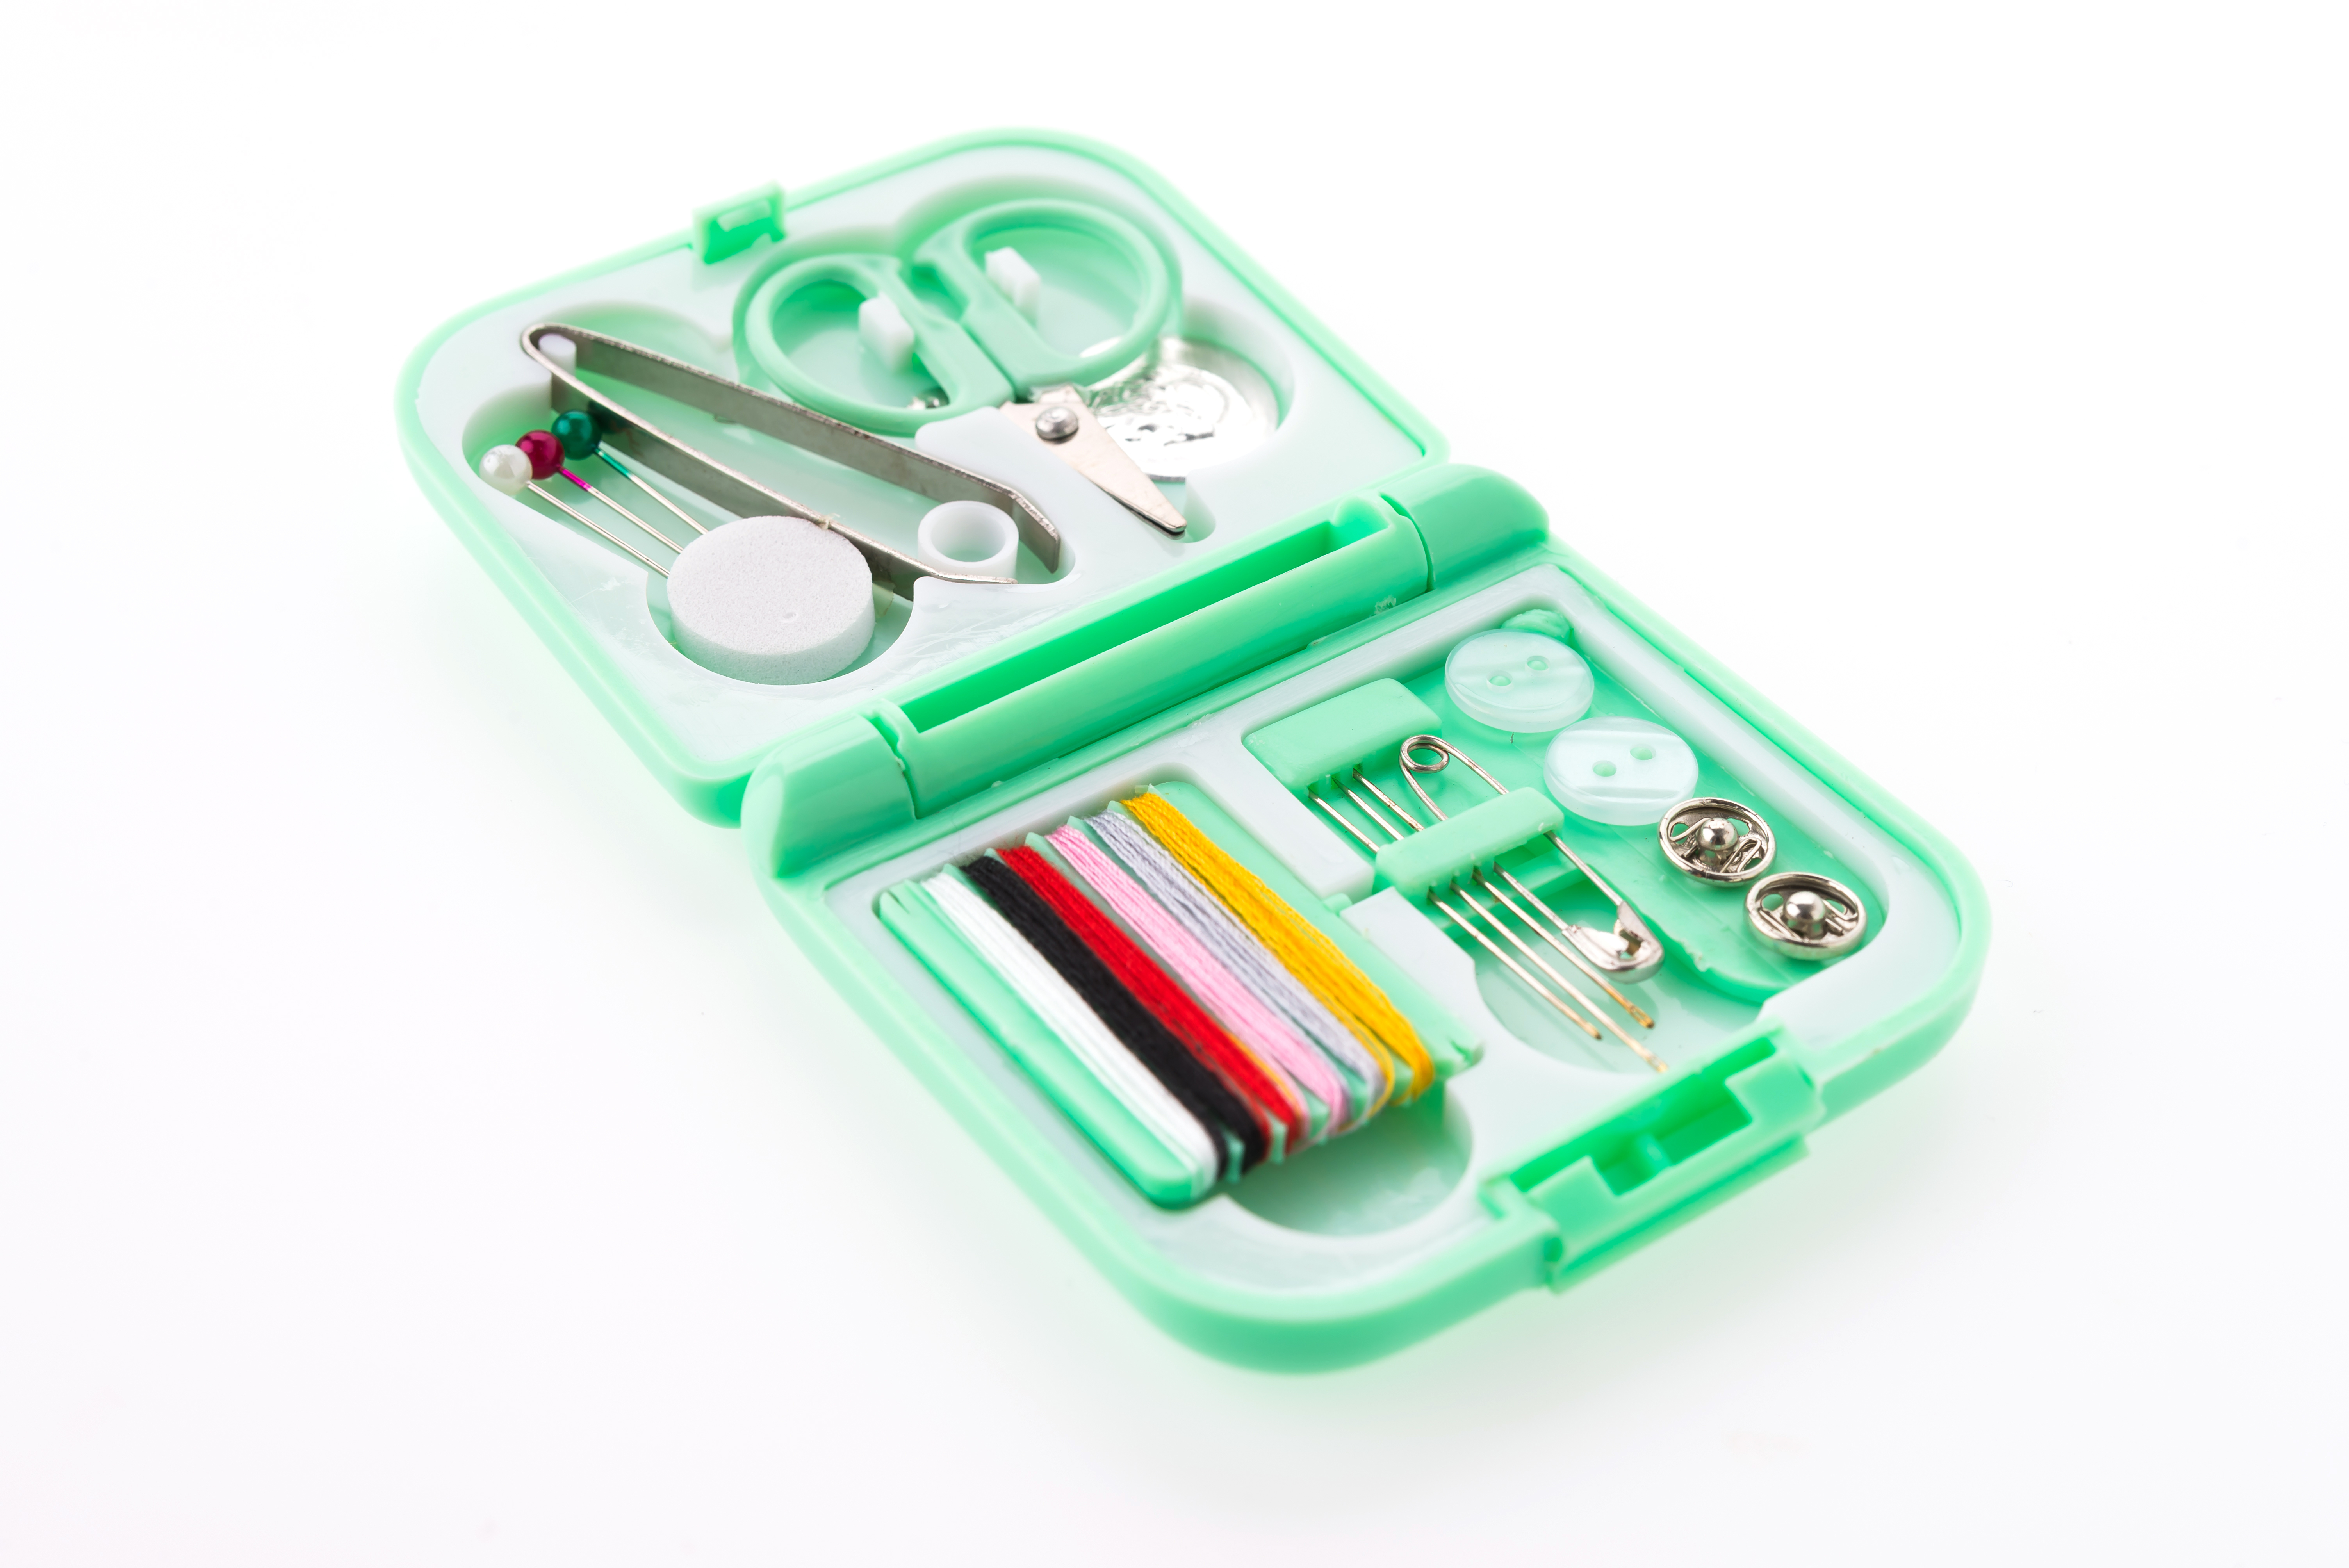
Everyone should have at their home a mini travel sewing kit – these come with threads of many colors, needles, a pin, and a needle threader (so you don’t have to squint at the eye of that needle to get the thread through!) and a small pair of scissors. If you don’t already have one, they cost about $6 at your local drugstore and are always small enough to fit in a handbag.
Re-sew a button
- Choose your thread color and cut a length 2x longer than the amount you think you’ll need.
- Thread your needle, looping the thread around and retying it at both ends, creating a giant loop of thread with the needle hanging. This is a handy way to keep the thread from falling out of the needle, and saves you time rethreading your needle. It also creates the knot you’ll need to prevent your thread from falling out.
- Align the button with the other buttons on your lab coat, and push the threaded needle up through the fabric and through one hole in the button. Use a pin between the stitch you have made and where the next stitch will go to in order to keep from stitching the button too tight. Push the needle down through the hole, through the fabric, and pull the thread all the way through with your needle.
- Repeat this process, crisscrossing your thread in an x-shape if its a 4-hole button, until the button is secure.
- Push the needle into the fabric under a place that the button covers and make a 3 more stitches to secure the thread further.